The hand-troweled, "scratch coat" is being applied to the exterior today. This is the base coat. There will be a second coat, and then the color coat.
Friday, October 15, 2010
Stucco Process, 10-15-2010
Sunday, October 10, 2010
Installing Drywall
Drywall, aka gypsum board, installation was started on 10/9/2010 and continued on 10/11/2010.
Looking through arch out the front door
Looking from front door through arches into great room
Looking into great room from kitchen
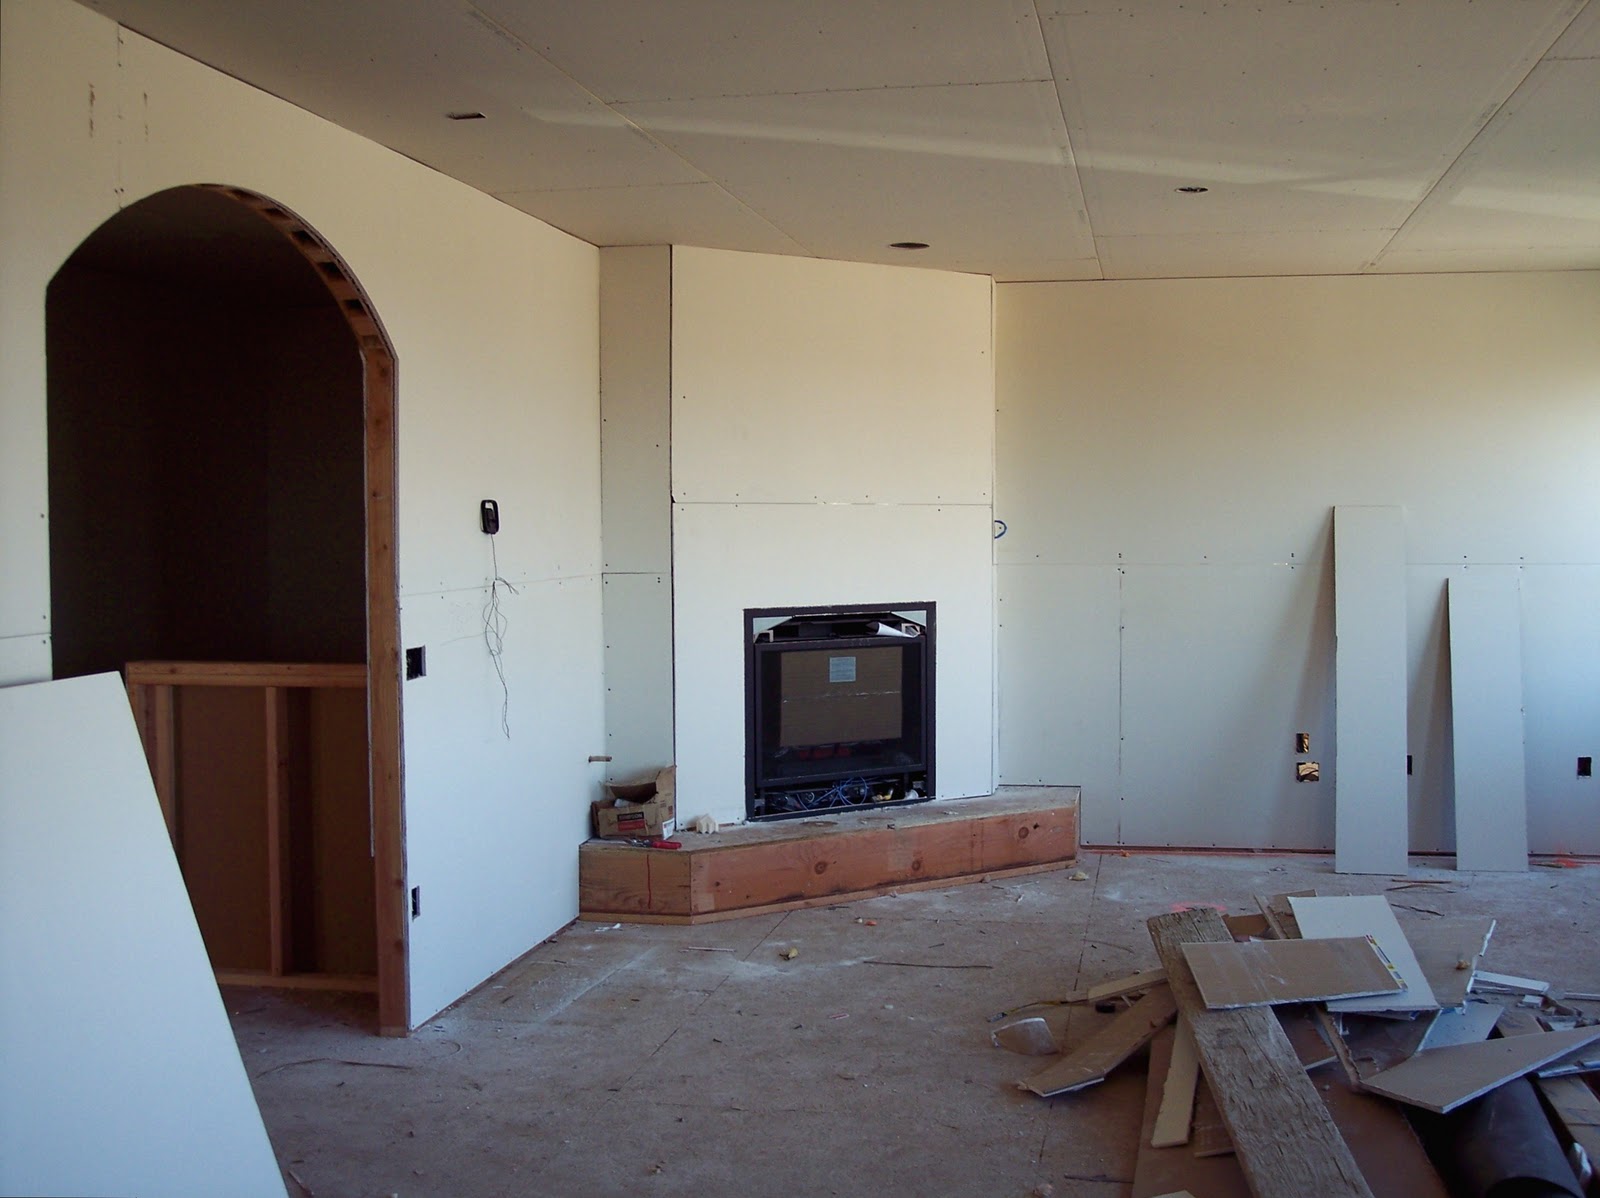
Fireplace will have tile surround, floating wood mantel, and built-in bookshelves on either side
Stairs to left of entry
Downstairs hall leading to bedrooms 4 & 5 on left,
bathroom and furnace room on right
Kitchenette at bottom of stairs
Amy and Chip inspecting the job on Tuesday, the 12th.
Labels:
drywall,
gypsum,
plasterboard,
wallboard
Installing insulation, 10/8/2010
Our building contractor is currently having insulation installed in the home. As the photos below show, they are using unfaced, batting insulation on the walls, covered with a polyethlene film for a vapor retarder. Batts are pre-cut to fit in the standard spaces between studs on 8' or 9' walls.
Master Bedroom, showing polyethlene film over batting.
Hall Bedroom, showing insulation under eaves, where blown attic insulation won't reach.
Garage is also insulated.
Insulation is flexible and can be placed behind wiring and pipes.
Labels:
batt and roll,
insulation,
vapor barrier
Tuesday, October 5, 2010
Preparing to Stucco Exterior
These photos show the back of the home being prepared for the application of stucco. The prep involves applying sheathing paper, then a special foam board (something like styrofoam), taping the edges of the board, and nailing a metal lath (like chicken wire) over the board. It's a lot of work and has to be done right in order to prevent moisture from seeping under the stucco to the wood sheathing that covers the house.
Owner Electrical Walkthrough
Contractor's construction supervisor asked me to walk through the house and decide if electrical switches, outlets, and such met our needs. These are my findings.
First, I was unable to identify ethernet connection plates, so cannot comment on whether or not they are adequate. Second, I didn't check the crawl space (access in master WIC) to determine if a light fixture was installed there, and I am unsure about whether there's a switch in the WIC for such a light. Third, I was unable to determine of the attic had been wired for an electric fan (if we decide to have one installed). Fourth, I am unable to tell whether a blower fan has been installed in the dryer vent. Finally, there's a switch in the mud room that may have to be moved once cabinet drawings are finalized for the added cabinets going in there (coordinate with Koglin at Northwood).
Other than that, and the few exceptions noted below, outlets, switches, TV, and phone connections are where they should be.
We asked for spots over the 2 walls between the 3 great room windows. The spots are there, but only one switch has been provided (see photos). This necessitates both spots on or off only. It would be better to have a switch for each.
Switch at left wall.
No switch at right wall.
We'd like an outlet added on the NW wall of the master bath, to the left of the door looking from the bath into the master bedroom (see photo).
Need an electrical outlet here.
We'd like an outlet added in the NE corner of the foyer just to the left of the den door (see photo).
Add an electrical outlet in this corner.
On the lower level, there doesn't appear to be a TV cable connection identified in bedrooms #3 or #4.
There needs to be a light in the closet in the basement bathroom.
Labels:
electrical,
ethernet,
lights,
low voltage,
outlets,
phone,
switches,
TV
Sunday, October 3, 2010
Natural Gas System
This simple diagram pretty well describes the systems in our new home that will be powered by gas. The exception is the range, which will be electric. Also, we'll have two gas furnaces, one on the main floor and one for the daylight basement. The main floor system acts as a backup for a Lennox Heat Pump. The heat pump will be the primary heating and cooling system. However, when the temperature drops below the heat pump's ability to operate as efficiently as the gas furnace, the gas furnace will take over until the temperature rises enough for the heat pump to operate more efficiently.
Tub & Shower Installation Requires Repositioning of Central Vacuum Hose
In an earlier post I showed the rough-in of the central vac plumbing. One of the photos showed a hose coming down the wall outside the lower level bathroom to provide a hall outlet for the lower level central vacuum (first photo). Unfortunately, the hose was installed before the tub/shower unit was installed, and had to be removed to make room for the tub/shower plumbing. We'll have to find another place for the outlet and reposition the hose.
Tub/shower unit positioned with plumbing on wall adjoining hall.
Tub/shower unit seen from hall.
Central vac hose had to be cut.
Tub/shower drain (looking down) and loose vac hose.
Labels:
central vacuum,
lower level,
tub/shower unit
Friday, October 1, 2010
Kitchen Taking Shape
Our kitchen is "U" shaped. We have a peninsula (left) that provides space for informal dining. The cooktop is to the right of the peninsula.
The sink is in the corner and a dishwasher is to the right of the sink. The refrigerator will be on the east wall next to dishwasher. We're getting a Kenmore Elite "Trio" refrigerator. It has side-by-side doors for the upper refrigerator compartment, and a pullout door for the lower freezer compartment. All together, it's a 25 CF refrigerator. It will be what Kenmore terms "Ultra Satin," which has a stainless look, but doesn't show fingerprints/smudges.
The fridge will fit against the east wall of the kitchen. You can see the ice maker plumbing for it the photo below.
The "hot wall" (oven and microwave) will be on the south wall. There's a pantry next to the hot wall. There are upper and lower cabinets all around the U-shaped kitchen.
There will be upper and lower cabinets all along the east wall, framing the refrigerator. You can see the soffit built above what will be the cooktop in the photo below. The soffit fills in the space between the ceiling and the tops of the cabinets.
The sink will have a nice view out corner windows.
Labels:
cabinets,
cooktop,
dishwasher,
Kenmore,
Kitchen,
oven,
refrigerator,
soffits
Subscribe to:
Posts (Atom)